Last week I presented at the 8th annual Information Science Doctoral Colloquium (iDocQ). The presentation was in the form of a PechaKucha, also known as a “20×20”. These presentations can be quite fun and exciting, especially if you are a confident and experienced communicator. However, if you are neither of those things, the idea of presenting 20 slides for 20 seconds each (for a total of 6 minutes and 40 seconds) might be a bit daunting.
This presentation style seems to be quite popular in the academic world – at least here in the UK. However, there seems to be a lot of confusion over what a 20×20 is (as well as what a 20×20 isn’t). And that’s where this post comes in.
OK, then. What is a 20×20? In the original form, they should be delivered as 20 images, on 20 slides, that each run for 20 seconds.
However, it seems that the image part has been overlooked by many in academia. That means that you see a fair amount of 20×20 slides that are filled with text. Lots and lots of text. Of course, that is not always the presenter’s fault. Oftentimes, the person organising the talks doesn’t know what a 20×20 is meant to be (or has decided that they don’t care) so the only instructions presenters have is that they must have 20 slides over the course of a 6-minute, 40-second talk. Some organisers might insist that the slides automatically forward every 20 seconds and others might not realise that little rule.
Ideally, 20×20 slides should be image-based no text. However, this can be a bit challenging for academics who are accustomed to developing text-heavy presentations. (But don’t do that. Really. Less is more!) Slides should not have any animation or transitions. Slides should also be set to advance automatically.
But why? It’s because the slides should be there to add visual stimulation to your intellectually stimulating words. They should not require your audience to read and should never include information that is vital to your talk. So, skip the detailed graphs and tables. (A 20×20 talk should be able to be presented without slides and still be just as informative.)
Heck, even for those of us who enjoy presentations, the idea of such a restrictive format can be a challenge. And with my habit of ad-libbing and going on wee rambles about a sub-point, it’s even more of a challenge! But I have learned a few tricks to make 20×20 presentations a bit easier to plan, prepare, and present.
Before you start putting slides together, have a think about what you’re going to say.
- Prepare your spoken words before you prepare your slides (talk it out and time it as close to 6:40 as possible). Think very clearly about the theme of your presentation and start to build out your presentation. Your talk might be a single, descriptive storyline (Mary had a little lamb) or it might be a series of interconnected points (research questions, methods, findings, and conclusion). Either way, you are sharing a narrative that must flow together with ease.
- Break your spoken words into 20-second segments (based on ideas or themes) then practise those segments. Think of your talk as sections or chapters and put breaks into the talk as those sections come along. Don’t forget to include pauses in each segment. Those pauses will give you time to breathe whilst your audience has time to process the information you’ve just shared with them.
- Give each point or idea the time it needs! You can use more than 20 seconds for a point, but all points should fit with multiples of 20 seconds. If you need a full minute to make a point, take a full minute! But give some thought to how you’re delivering those 60 seconds so that you can switch up the slide image to reflect the point every 20 seconds. For example, if your point is about social networking sites, you might change the image to reflect a different aspect of social networking sites every 20 seconds, as it relates to the point. (You cannot use the same slide twice; each slide must be different.)
- Make a note of non-vital sentences that can be dropped if you start to fall behind. This will allow you to catch up a bit, even if it takes 2-3 slides to get back in synch. A few seconds’ lag-time is hard to avoid for beginners, but it is better to drop sentences in the middle so that you finish on time. That way, you still have time to deliver your punchy, vital concluding sentences – and maybe even take a theatrical bow!
Now that you’ve got your talk ready, you can begin to illustrate it. Yes, this is the point when you can start working on your visuals.
- Think of your talk as a visual storyboard. What one image illustrates each 20-second segment? If you’re talking about Facebook, there are lots of obvious options. But if you’re talking about something a bit vaguer, this is your chance to get creative and whimsical. For example, if you’re talking about the history of modern beer production, you might use a photo of hops growing on a trestle.
- Find image inspiration on Google or Flickr. If you don’t know how to illustrate a point, enter some of your keywords into a Google image search to see what comes up. This can help you to see how others visualise your concepts, which might also help you to think more creatively about how you present your work in the future.
- Mind your copyrights! It is easy to just swipe images from the Internet, but be mindful of copyright infringement. Wherever possible, use images that have a Creative Commons copyright (or get really creative and take photos of your own!). Also, pop a wee copyright attribution on the slide. If done correctly, these do not need to detract from the presentation. (You can see examples of how I’ve done copyright attributions on my SlideShare presentations.)
- Practise, practise, and practise some more! Ideally, you can do this in front of an audience that will provide you with practical, constructive feedback to help you improve your delivery. But if that is not possible, consider recording yourself so that you can see how well you do. Or, ideally, do both! It can be awkward watching yourself present, but it can also be a great tool for improving your presentation skills.
Right. Presentation day is here now, and you should be ready to go. Here are four more tips to get you through the day.
- Dress for success on presentation day! For me, that means I wear smart, professional clothes and shoes that I am comfortable in. (And never new stuff. I like to test-run my important clothes!) I realise that some research students present in their everyday clothes (which might be tattered jeans and a t-shirt) and that is considered acceptable in modern society. However, I personally feel that presenting your research is also an opportunity to present yourself to potential future colleagues or employers. So, put on your Sunday best (or similar) and strut your stuff! (Yes, I realise that sounds a bit snobby. Sorry.)
- Remember to pause and remember that you have specifically built in drop-sentences that you can ditch if you start to get backed up on your 20-second intervals. If you find that you’ve talked faster than your slide changes, just take a big breath and let the slides catch up to you. And if you’ve talked really fast and need more than one big breath, shrug it off and make a joke (practise those ahead of time, too).
- Step away from the podium. Unless you need to be near the microphone, step away from the podium and stand where your audience can see you. (But don’t block your slides!) You have practised this talk. You know your subject. And your slides are all images that will automatically advance every 20 seconds. So there is no need for you to stand by the computer. Be brave; come out and engage with the audience!
- Have fun! Presentations can be quite stressful, especially if you don’t have much experience. However, 20×20 presentations are an opportunity to have fun whilst challenging yourself in a laid-back atmosphere. It’s quick and punchy, and it can be a chance to show that you can have a sense of humour when things go wrong.
During my time as a PhD student, I have relaxed my rigid ways so that I can be more in line with how others present 20x20s. That means that I will sometimes use a bit of text (only a bit!). I have also started to use simple diagrams and paired photos on some slides. However, I have decided that I am going to return to the basics with my next 20×20.
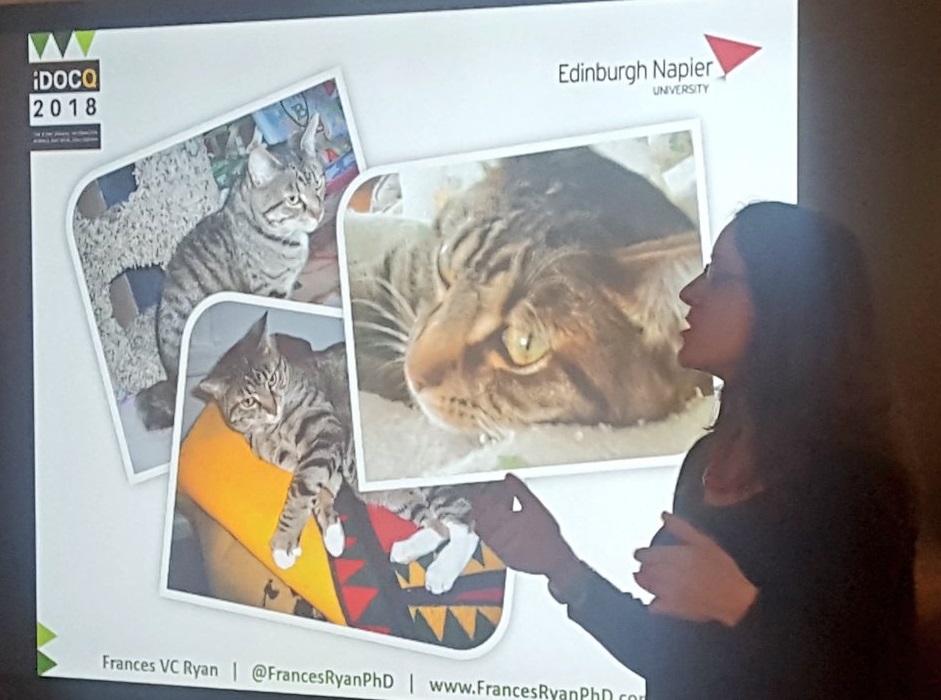
Of course, I will also need to revisit my tips above because, as you can see, I didn’t do any planning or practising for my last go. It wasn’t horrible, but it wasn’t great. So, if you want to know what a 20×20 looks like when you haven’t prepared, here you go!
Photo credit: Alicja Pawluczuk and iDocQ
Video production and editing credit: Dr Bruce Ryan (no relation)