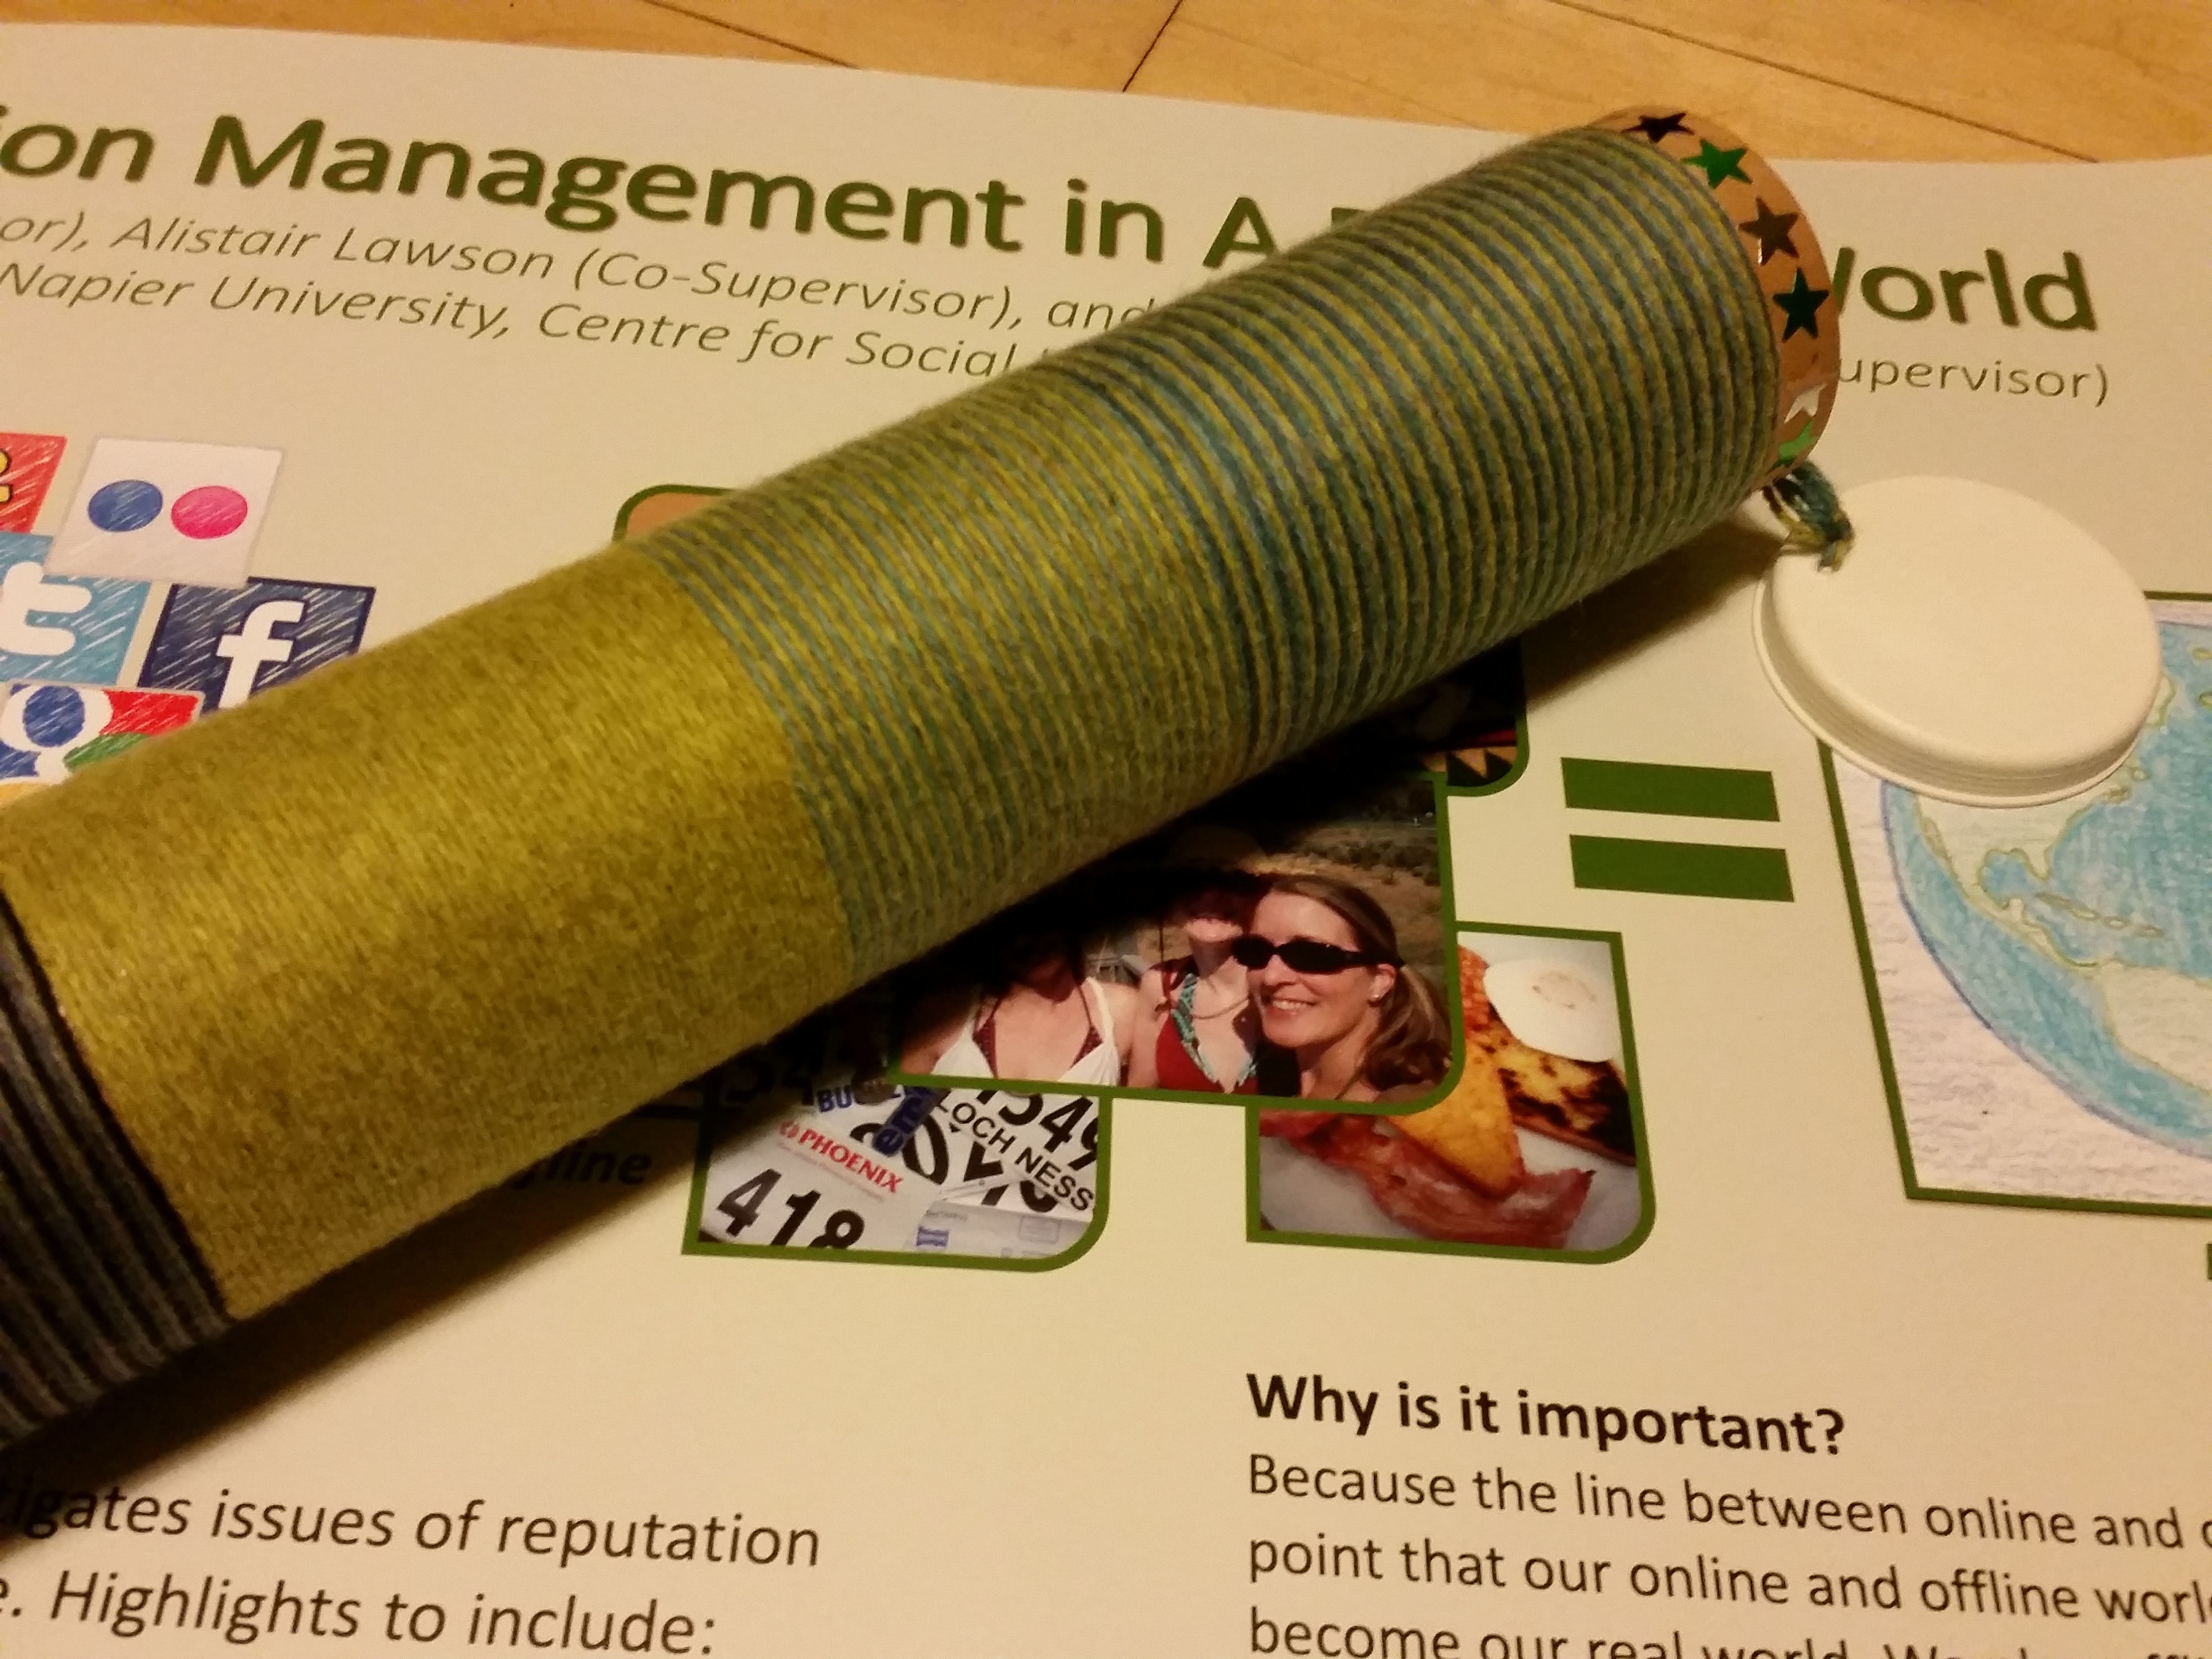
I’m heading to the iFutures: Research into Practice Conference in Sheffield early next week to present a poster. It’s the same poster I presented at the SICSA Conference in St Andrews in June, but I’m pretty excited about the opportunity to share my research plans once again.
I’ll share a review of the conference afterwards though. This post is all about my poster parcel and my need for a bit of pizzazz. (Sorry, this isn’t an academic post, it’s a PhD life post!)
I didn’t have time to get a poster tube before the St Andrews conference and spent the entire train journey panicked about it getting dented and dinged. (I might be a bit fussy about these things.) So I knew without a doubt that I would need a better transport system for my next trip around the block.
As a “starving student” I couldn’t bring myself to buy a nice cloth or leather poster carrier. No, my budget would only extend to a generic poster tube.
But I’m creative and resourceful, so I wasn’t going to settle for just a plain tube. No, my ego would bow to that.
I thought about printing some of my swirls then découpaging them onto the tube, but I didn’t have decoupage on hand or the glue to make it with. Then I thought about drawing on it or just covering it with stickers, but that just seemed too… boring.
So, I wrapped it with yarn and added a row of star stickers to the top end. I also “extended” one end since the lids on either end dipped in, meaning the “perfect” sized tube wouldn’t allow for both ends to be sealed completely. (If you’ve used a cheap poster tube, you probably know what I’m talking about.)
Here’s how I did it:
First, I extended one end. To do this, I carefully glued the lid to one end without fully closing it. I used a sort of epoxy goop that was lying around the house to do that. I then took three strands of wool and began wrapping them around to hide the lid—using the epoxy to secure the wool at this point. (Are you following this?)
Once I went about an inch around the tube, I realised the epoxy would be too messy and switched to a heavy-duty double-sided tape to secure the rest of the wool. I worked my way around switching out colours until I was about an inch and a half from the top.
Then I punched a hole in the tube to bring the wool inside. From there, I looped it through two holes I punched in the top lid (with some slack) then back to the initial hole in the tube to tie it off. This provided me with a lid that can’t be lost! (You can never be too careful, you know!)
One of the reasons I tied the wool off like this was because I feared it would unravel if I wrapped it all the way to the top. And that’s where the star stickers came in – as a way to decorate that last little bit of tube.
And there you have it – a poster parcel with a bit of pizzazz!
(Here’s what I started with, if you wondered.)
- Total cost: $£1.82
- Tube: £1.49
- Tape: £0.33
- Epoxy: Free (spare from housemate)
- Wool and stickers: Free (from a box of craft stuff given to me by a friend)
- Total time: 1 hour
- Total happiness: 100%

Hmmm, the tube looks good. I’d use this tutorial for mine 🙂